
28 Jun 26
Renovating a bathroom is part design challenge, part logistical puzzle. There’s a lot to juggle, including layouts, waterproofing, fittings, and staying on schedule, with little room for error.
But with a clear plan and the right advice, it can be straightforward and surprisingly satisfying.
This guide breaks down everything you need to know about renovating a bathroom into simple, easy-to-follow terms. Whether you're refreshing a tired ensuite or tackling a 1full-scale renovation, you'll find clear, practical advice to help you make confident decisions and create a space that functions well and looks great.
Planning Your Renovation
What’s Your Bathroom Goal? (Style vs Function vs Resale)
The first thing to consider when renovating a bathroom is your core objective. Before choosing stone tiles or matte black tapware, take a step back and think about what you really want to achieve. Renovations without a clear direction often lose focus and end up costing more than expected. Your objectives will likely fall under one of the following three categories.
Function-led
If the current setup is awkward, inefficient, or simply doesn’t serve your household, functionality comes first. This might mean reconfiguring the floor plan, integrating more storage, improving ventilation, or upgrading lighting to suit how the space is used. Walk-in showers, double vanities, and built-in niches aren’t just luxuries. They solve real problems.
Style-driven
If the layout works but the space feels uninspired, focus on upgrading the aesthetic. Refined materials, tonal palettes, feature lighting, and custom detailing can transform a tired bathroom into something timeless and considered, without needing to shift the plumbing.
Resale-focused
If you’re renovating with buyers in mind, keep things broadly appealing. Neutral tones, quality fittings, and a restrained design approach are your best allies. Aim for a look that’s fresh, enduring, and easy to personalise.
You might juggle more than one of these goals, but prioritising the main one will help you make clearer, faster decisions.
Bathroom Renovation Planning Checklist
A smooth renovation starts well before any work begins. Here’s a simple checklist to get
you started:
- Measure your space and note all plumbing and electrical points.
- Settle on your goal. Is it functionality, style, or resale?
- Set your budget, including a buffer (10–15%) for the unexpected.
- Lock in design elements early, such as tiles, fittings, and layout.
- Decide if you'll stay or relocate during the renovation process.
- Check lead times on materials (some tiles take 8+ weeks).
- Engage a registered builder and any required trades in advance.
- Organise permits if your job requires them.
- Schedule debris removal and post-build cleaning.
- Plan for final checks, such as waterproofing certification, council approvals (if applicable), and practical completion.
A few hours of clear-headed planning at the beginning can mean weeks saved later down the line. You’ll thank yourself for having this sorted before demolition day.
Renovation Timeline: What Happens When
Even a modest bathroom renovation is a tightly sequenced operation. Trades need to work in the right order, materials must arrive on time, and nothing should be rushed.
Here’s a typical 5–6 week breakdown:
Week 1: Demolition & Strip-Out
Old tiles, fittings, walls and cabinetry are removed. Plumbing and electrical systems are disconnected and made safe.
Week 2: Plumbing & Electrical Rough-In
Behind-the-wall work is completed. This includes drainage adjustments, hot/cold lines, and wiring for new lighting or switches.
Week 3: Sheeting & Waterproofing
Walls are relined, and waterproof membranes are applied. This stage requires precision and ample drying time.
Week 4: Tiling & Flooring
Tiles are laid, grouted, and sealed. A skilled tiler can make or break the look of your bathroom.
Week 5: Joinery & Fixtures
Vanities, cabinetry, mirrors, and any custom joinery are installed.
Week 6: Fit-Off & Finishing Touches
Tapware, lighting, toilet, shower screen, towel rails, and final detailing are completed.
Following this is cleaning, testing, and handover.
Keep in mind, delays can occur, particularly with supplier shortages or unforeseen structural issues. But with clear scheduling and a reliable builder, the process should move forward in a measured, organised way.
Budgeting and Costs
How Much Does a Bathroom Renovation Cost in Australia?
A full renovation of a medium-sized bathroom typically starts from around $20,000. This base figure covers essential construction work but doesn’t include fittings, tiles, or the vanity. Once these elements are factored in, the total cost naturally increases, especially if you're aiming for a more refined finish or custom features.
The final price will depend on the complexity of the layout, the materials you choose, and the overall design. Some of the most popular upgrades that can influence cost include:
- Layout changes or removing internal walls
- Cavity sliding doors
- In-wall toilet cisterns and mirrored shaving cabinets
- Shower and bath niches
- Herringbone or mosaic feature tiling
- Custom vanities and stone benchtops
With these enhancements, a high-quality bathroom renovation can range from $30,000 to $50,000 or more, a worthwhile investment for a space that adds daily comfort and long-term value to your home.
Cost Breakdown by Element
To help you understand where your dollars actually go, here’s a practical breakdown:
- Labour (builders, plumbers, electricians): 40–50%
- Tiling & waterproofing: 15–20%
- Fixtures & fittings (tapware, basin, toilet, shower): 15%
- Cabinetry & benchtops (including custom vanity): 10%
- Lighting & electrical: 5%
- Accessories & final finishes (mirrors, heated rails, towel holders): 5%
For example, introducing a cavity door, bath niche, and feature tiling requires both materials and skilled labour, so expect those items to occupy the upper end of each respective category.
Smart Budgeting Tips
Keep your bathroom renovation on budget with these smart tips.
- Stick to the existing layout if possible. Relocating plumbing and waste points is one of the biggest cost drivers.
- Choose where to splurge and where to save. A single feature tile or a well-made vanity can lift the whole space without inflating the budget.
- Confirm all materials are in stock before demolition starts. Unexpected delays often translate into added labour costs.
- Always allow for a 10–15% contingency to cover unknowns, such as water damage, structural issues, or last-minute design changes.
With careful planning and smart trade-offs, you can achieve a beautifully finished bathroom without straying too far from your original budget.
Bathroom Design and Layout
Popular Layouts Explained (Small, Ensuite, Family, Powder Room)
A bathroom’s layout is more than just where things go. It dictates how the space feels and functions on a daily basis. Whether you’re working with tight proportions or starting fresh, here’s how common layouts typically take shape:
Small Bathroom
Usually found in apartments or older homes, these often combine shower, vanity, and toilet in a single line or compact L-shape. Space-saving choices, such as wall-hung vanities, mirrored cabinets, and in-wall cisterns, are key here.
Ensuite
Positioned off the master bedroom, ensuites benefit from privacy and a calm, minimal feel. Walk-in showers, double vanities (where space allows), and neutral tones keep things feeling refined without crowding the footprint.
Family Bathroom
This space needs to handle the daily demands of a busy household. Think generous storage, a combination bath/shower, durable finishes, and logical separation between wet and dry zones. A family bathroom is often the hardest-working room in a house.
Powder Room
Compact but high-impact. No shower or bath required, just a toilet, basin, and a chance to push the design envelope. Think statement tiles, bold lighting, or a custom mirror.
A good layout starts with understanding how the space will be used, and by whom. Then work backwards from there.
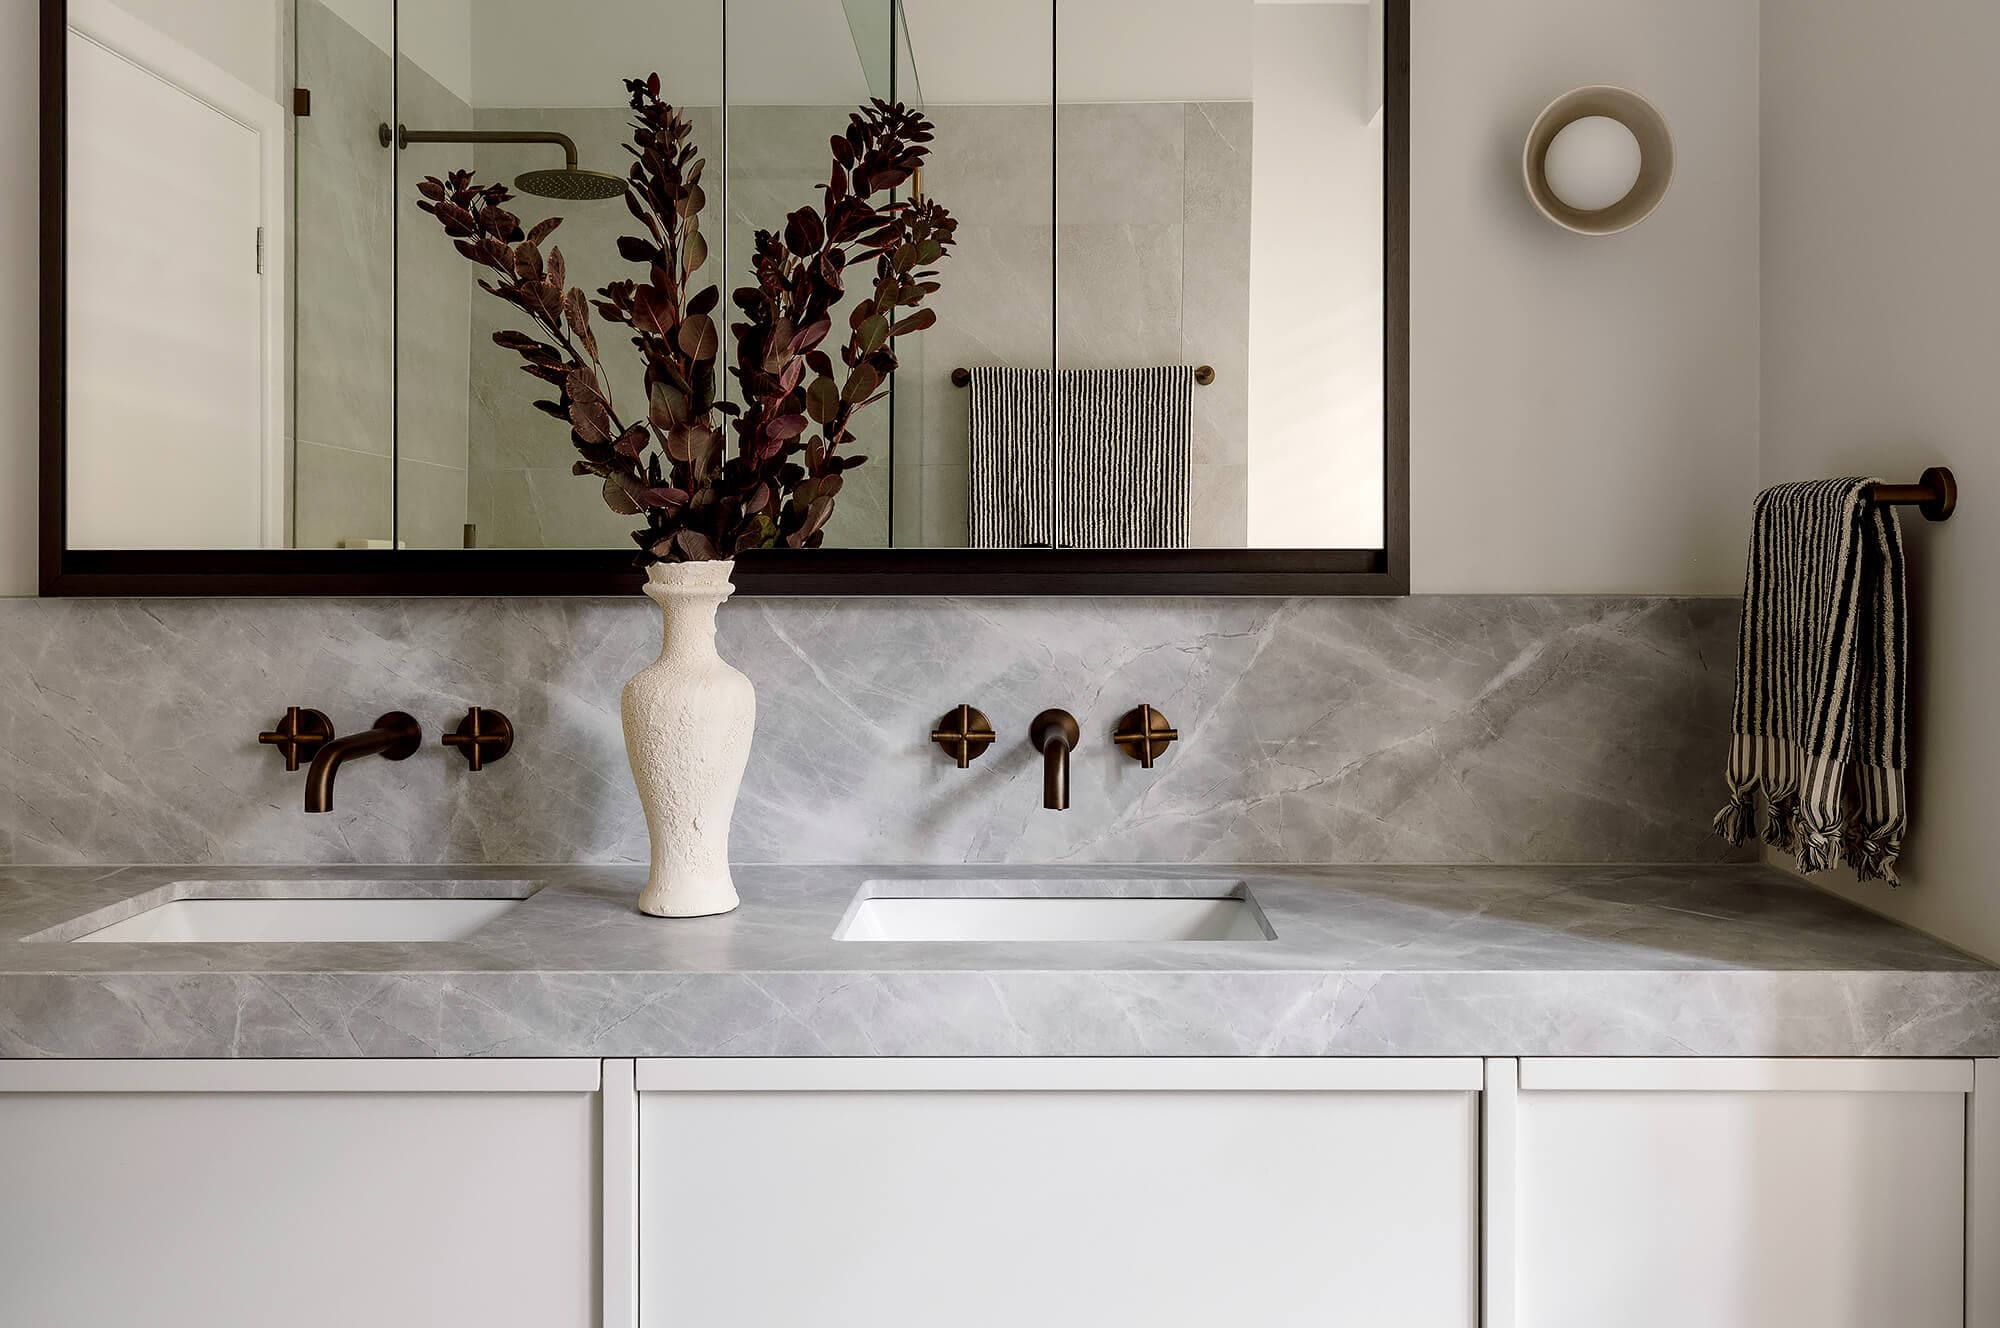
Tips for Making the Most of Small Spaces
A small bathroom doesn’t have to feel cramped or compromised. With thoughtful design, even the most modest footprint can feel open and considered. Keep these tips in mind when renovating a small bathroom.
- Go wall-mounted: Vanities, tapware, and toilets that float above the floor create a sense of space, and make cleaning easier.
- Choose large-format tiles: Fewer grout lines give the illusion of a bigger floor or wall area. Stick to lighter tones to reflect light.
- Use mirrored cabinets: They serve double duty, providing both storage and light reflection. A full-wall mirror can visually double the size of a narrow room.
- Niche it: Recessed shelves in showers or above vanities eliminate the need for bulky storage.
- Streamline your palette: Too many competing finishes will make the room feel chaotic. A restrained material selection creates a calm, unified look.
- Consider a walk-in shower: A frameless glass screen or wet room layout eliminates visual breaks and improves flow.
In smaller rooms, every detail matters. Design choices should earn their keep, both in form and function.
Materials, Fixtures and Features
How to Choose Tiles, Vanities, Tapware, Lighting and Mirrors
The right materials and fixtures don’t just determine how your bathroom looks; they also affect its performance over time. Here’s what to consider when selecting each key element:
Tiles
Tiles set the visual tone and impact durability. Think beyond just colour:
- Floor tiles: Choose non-slip finishes (especially in wet zones). Porcelain is dense, hard-wearing, and a safer bet than ceramic for high-traffic areas.
- Wall tiles: These can be more decorative. Glossy subway tiles, matte stone-look porcelain, and handmade zellige all bring very different moods.
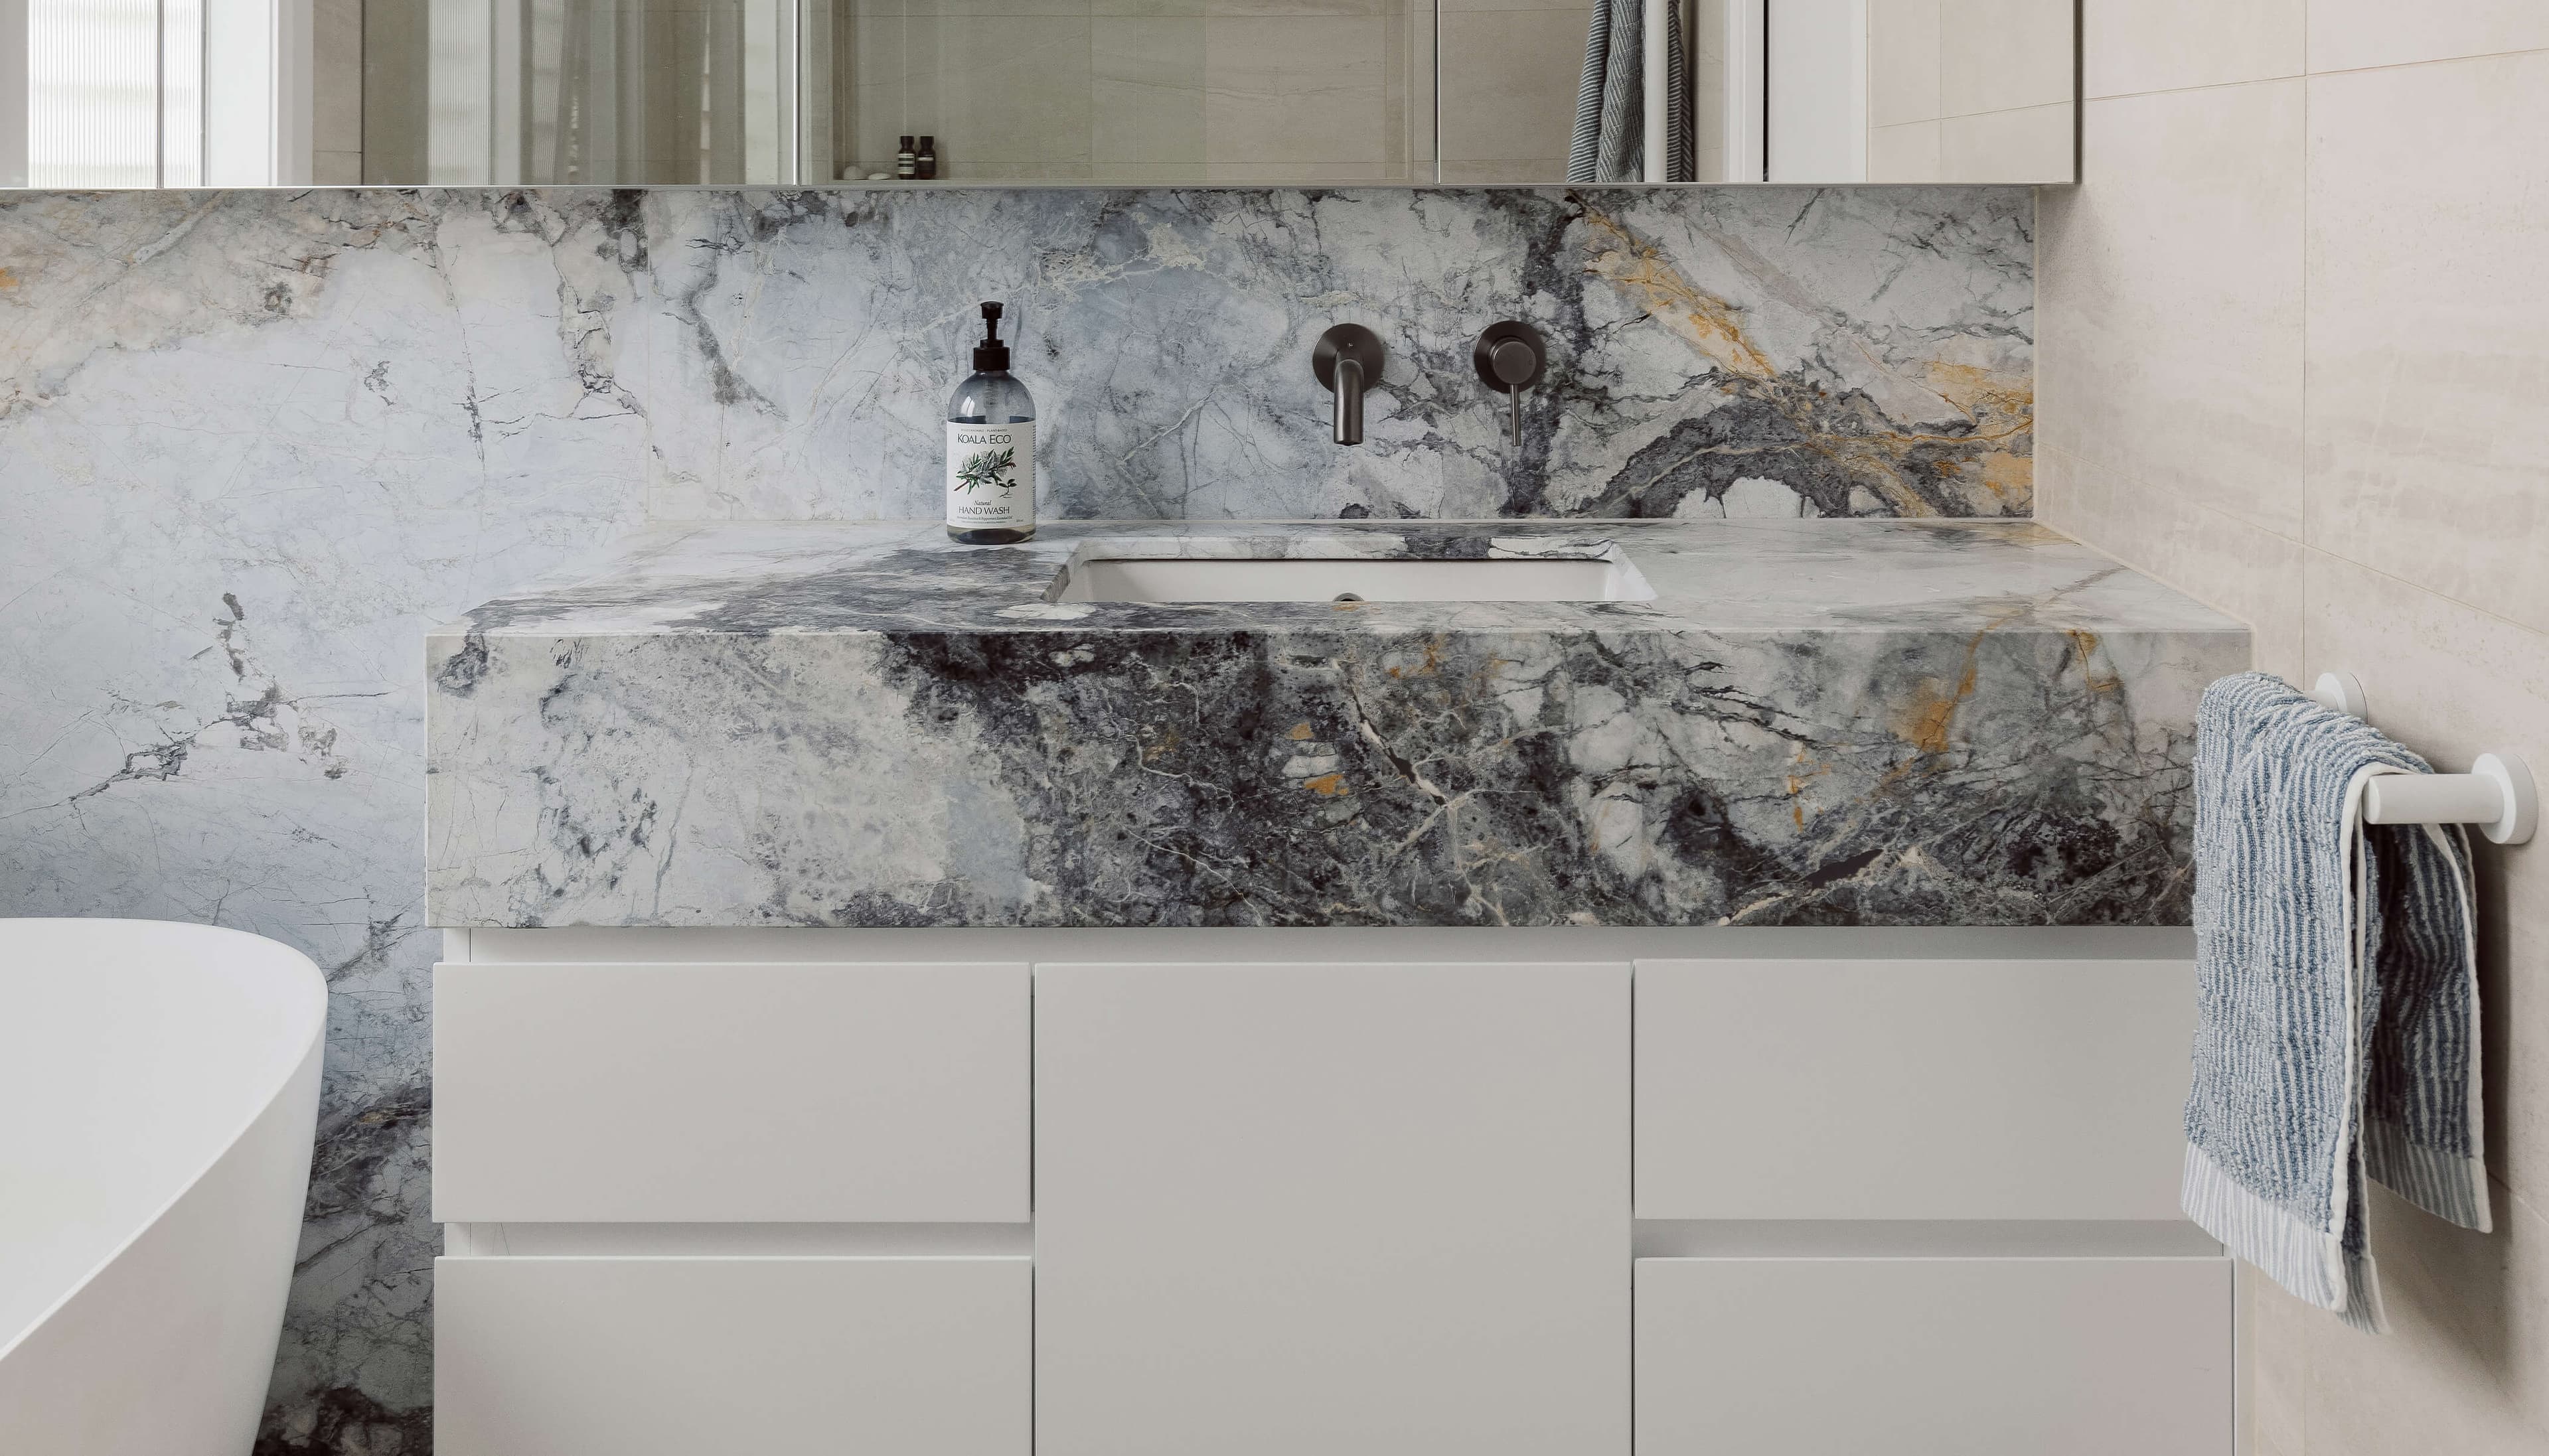
- Feature tiles: Use sparingly for impact. A shower wall, vanity splashback, or niche is enough to create a focal point without overwhelming the space.
Vanities
Vanities anchor the room, so consider both size and style:
- Custom vs. prefab: Custom vanities offer exact-fit proportions and storage options, but prefab options are more budget-friendly.
- Wall-hung vs. floor-standing: Wall-hung creates a floating look that suits modern designs and smaller spaces.
- Materials: Moisture-resistant finishes are essential. Look for marine-grade plywood, sealed timber, or high-pressure laminates.
Tapware
Tapware is where small details matter:
- Choose brass internals for long-term performance.
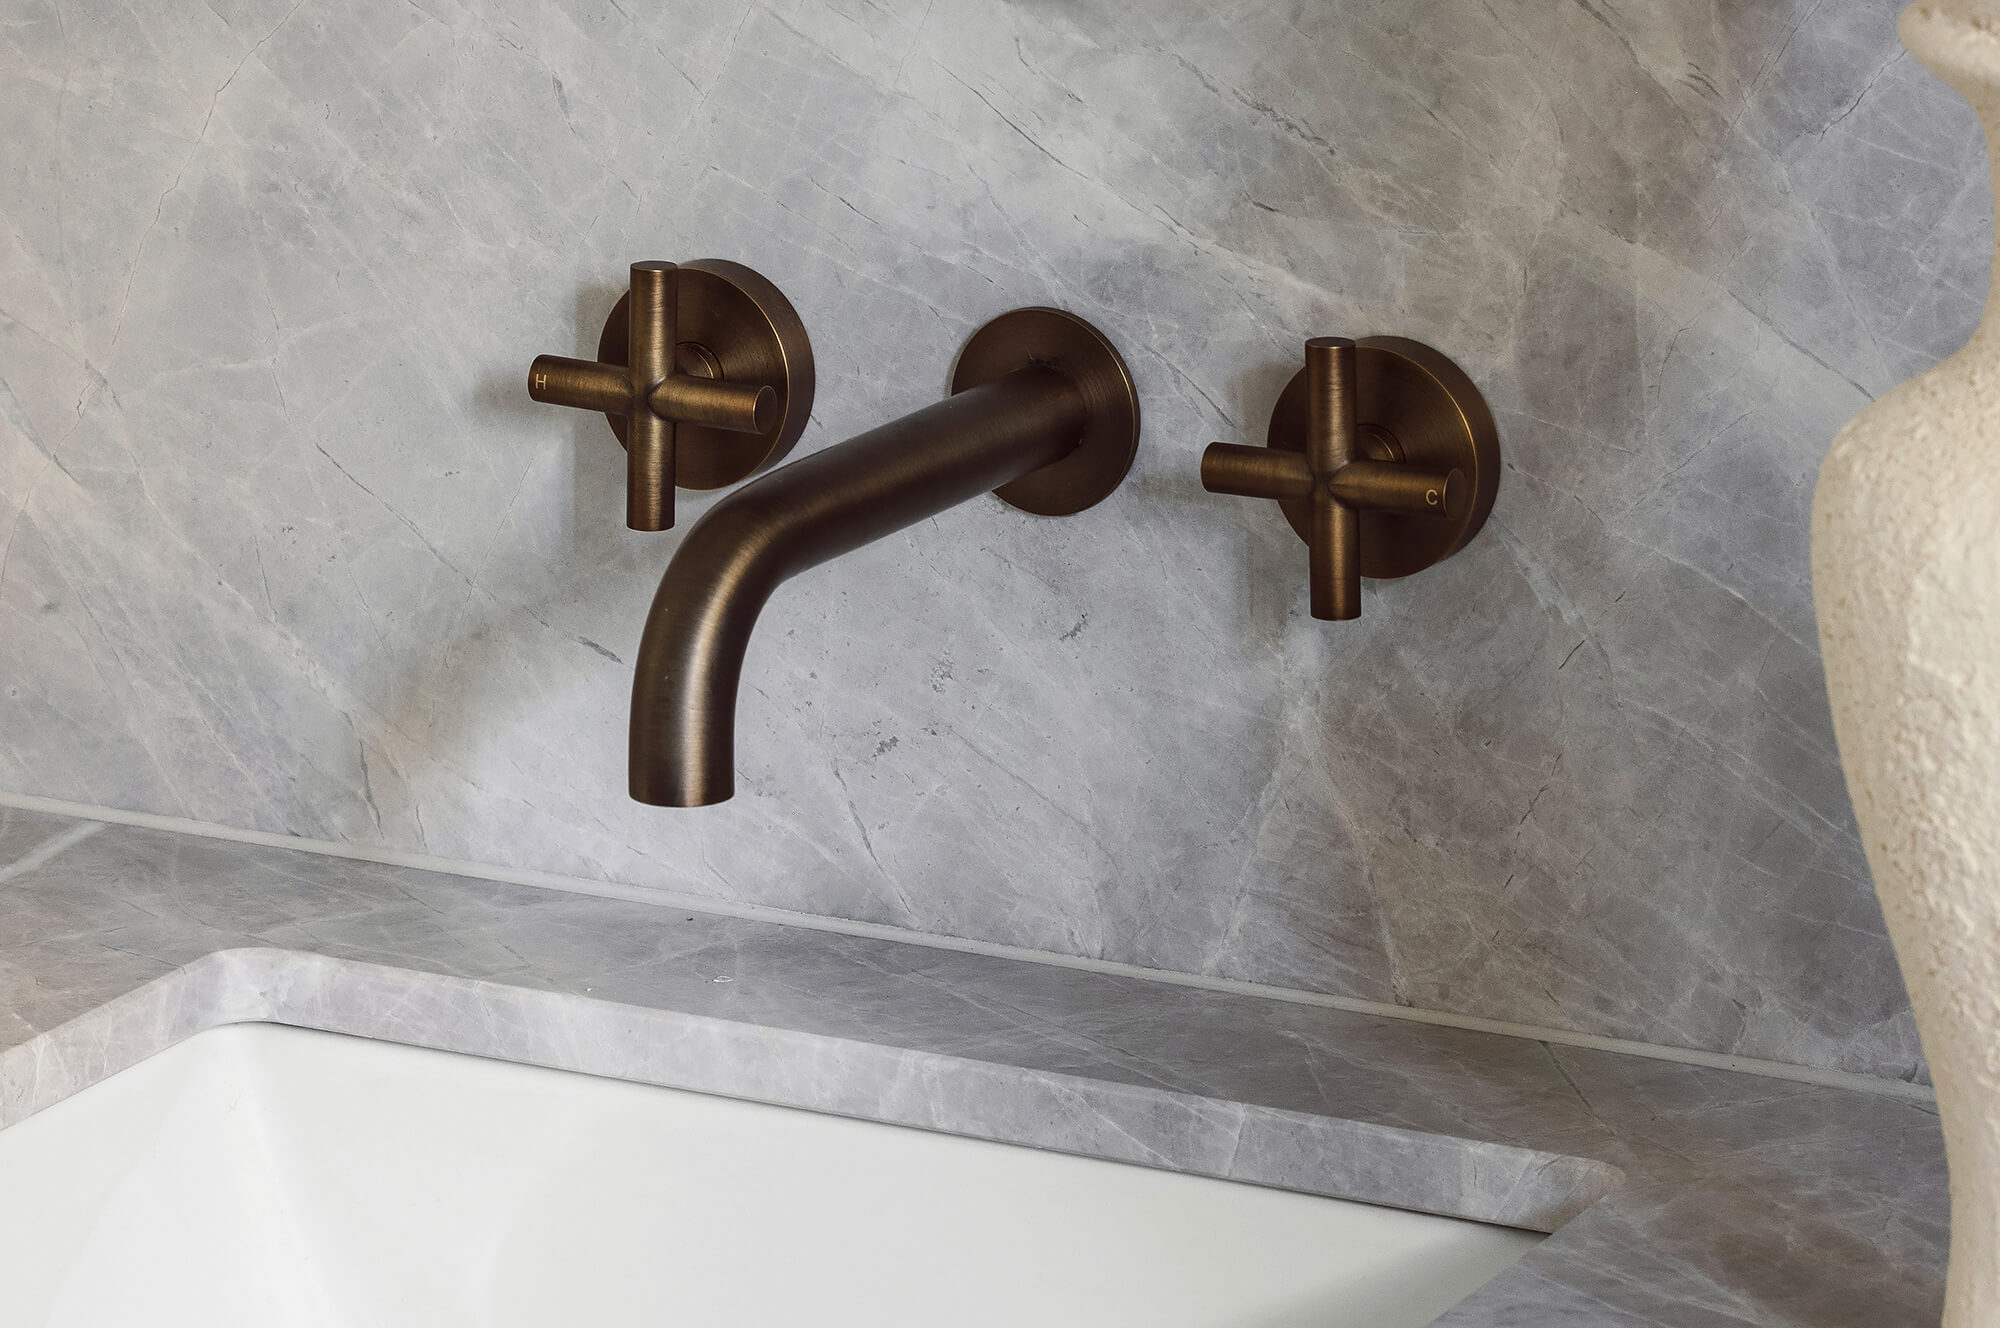
- Finishes like brushed nickel, matte black, or gunmetal add sophistication, but just ensure consistency across all fittings.
- Wall-mounted taps free up benchtop space and pair well with above-counter basins.
Lighting
Good lighting does more than just illuminate. It sets the mood and improves usability:
- Ambient lighting: Downlights for general coverage.
- Task lighting: Wall lights or mirror LEDs for grooming. Ideally placed either side of the mirror to reduce shadows.
- Accent lighting: Consider strip lighting under vanities or in niches for subtle, indirect glow.
Always check that all fittings are IP-rated for bathroom zones, particularly near showers
and baths.
Mirrors
Mirrors are functional, but also expand space and reflect light:
- Frameless mirrors offer a sleek, minimal look.
- Framed or arched mirrors add softness and work well in classic or coastal schemes.
- Shaving cabinets maximise utility, offering hidden storage without increasing bulk.
The best bathroom designs balance beauty and utility. Choose pieces that speak to your style, but don’t overlook their function, or how well they’ll hold up over time.
DIY vs Hiring Pros
What You Can DIY. And What You Shouldn’t
Some aspects of a bathroom renovation lend themselves to a hands-on approach.
Painting or installing final accessories can often be managed by capable homeowners with a steady hand and the right tools. These tasks allow for a degree of personal involvement and can help trim costs without compromising the result.
However, anything involving plumbing, electrical work, or waterproofing must be left to licensed professionals. These are legally regulated. Compliance certificates are essential, and without them, you risk voiding your insurance or compromising the integrity of the space.
If your renovation exceeds $10,000 and involves structural, waterproofing, or regulated building work, Victorian law requires that you engage a Registered Building Practitioner.
This ensures your project is carried out to code, covered by the appropriate insurance, and accountable under Victoria’s Building Act. It also gives you peace of mind that all trades are properly sequenced, compliant, and managed to the required safety standards.
While DIY has its place, knowing where to draw the line is key.
How to Hire the Right Professionals
A successful bathroom renovation relies on a well-coordinated team of licensed trades, including plumbers, electricians, tilers, waterproofers, cabinetmakers, and more. Here’s how to hire smart:
Licensing and Compliance
For any bathroom renovation involving plumbing, electrical, or waterproofing work:
- Ensure you hire licensed professionals.
- They must be authorised to issue compliance certificates.
- If the total work exceeds $10,000 and involves building work, you must use a Registered Building Practitioner.
Relevant Experience
Choose professionals with a track record in bathroom renovations. Ask for examples of recent work and confirm they’ve handled similar scopes.
Clear Communication
Good trades are responsive, transparent, and upfront about timelines, costs, and delays. Avoid anyone who’s vague or hard to reach.
Project Management
Find out who’s coordinating the job. A company that supplies all trades in-house typically offers smoother scheduling and clearer accountability.
Consider a Full-Service Renovation Team
Juggling trades yourself can be time-consuming and risky, especially if you’re not familiar with sequencing or building codes. Choosing a specialist bathroom renovation company with all trades in-house means tighter scheduling, fewer delays, and one clear point of contact.
One Stop Renovate is your one-stop service for bathroom renovations, offering a fully managed, end-to-end approach. Get in touch today to see how we can bring your vision to life.
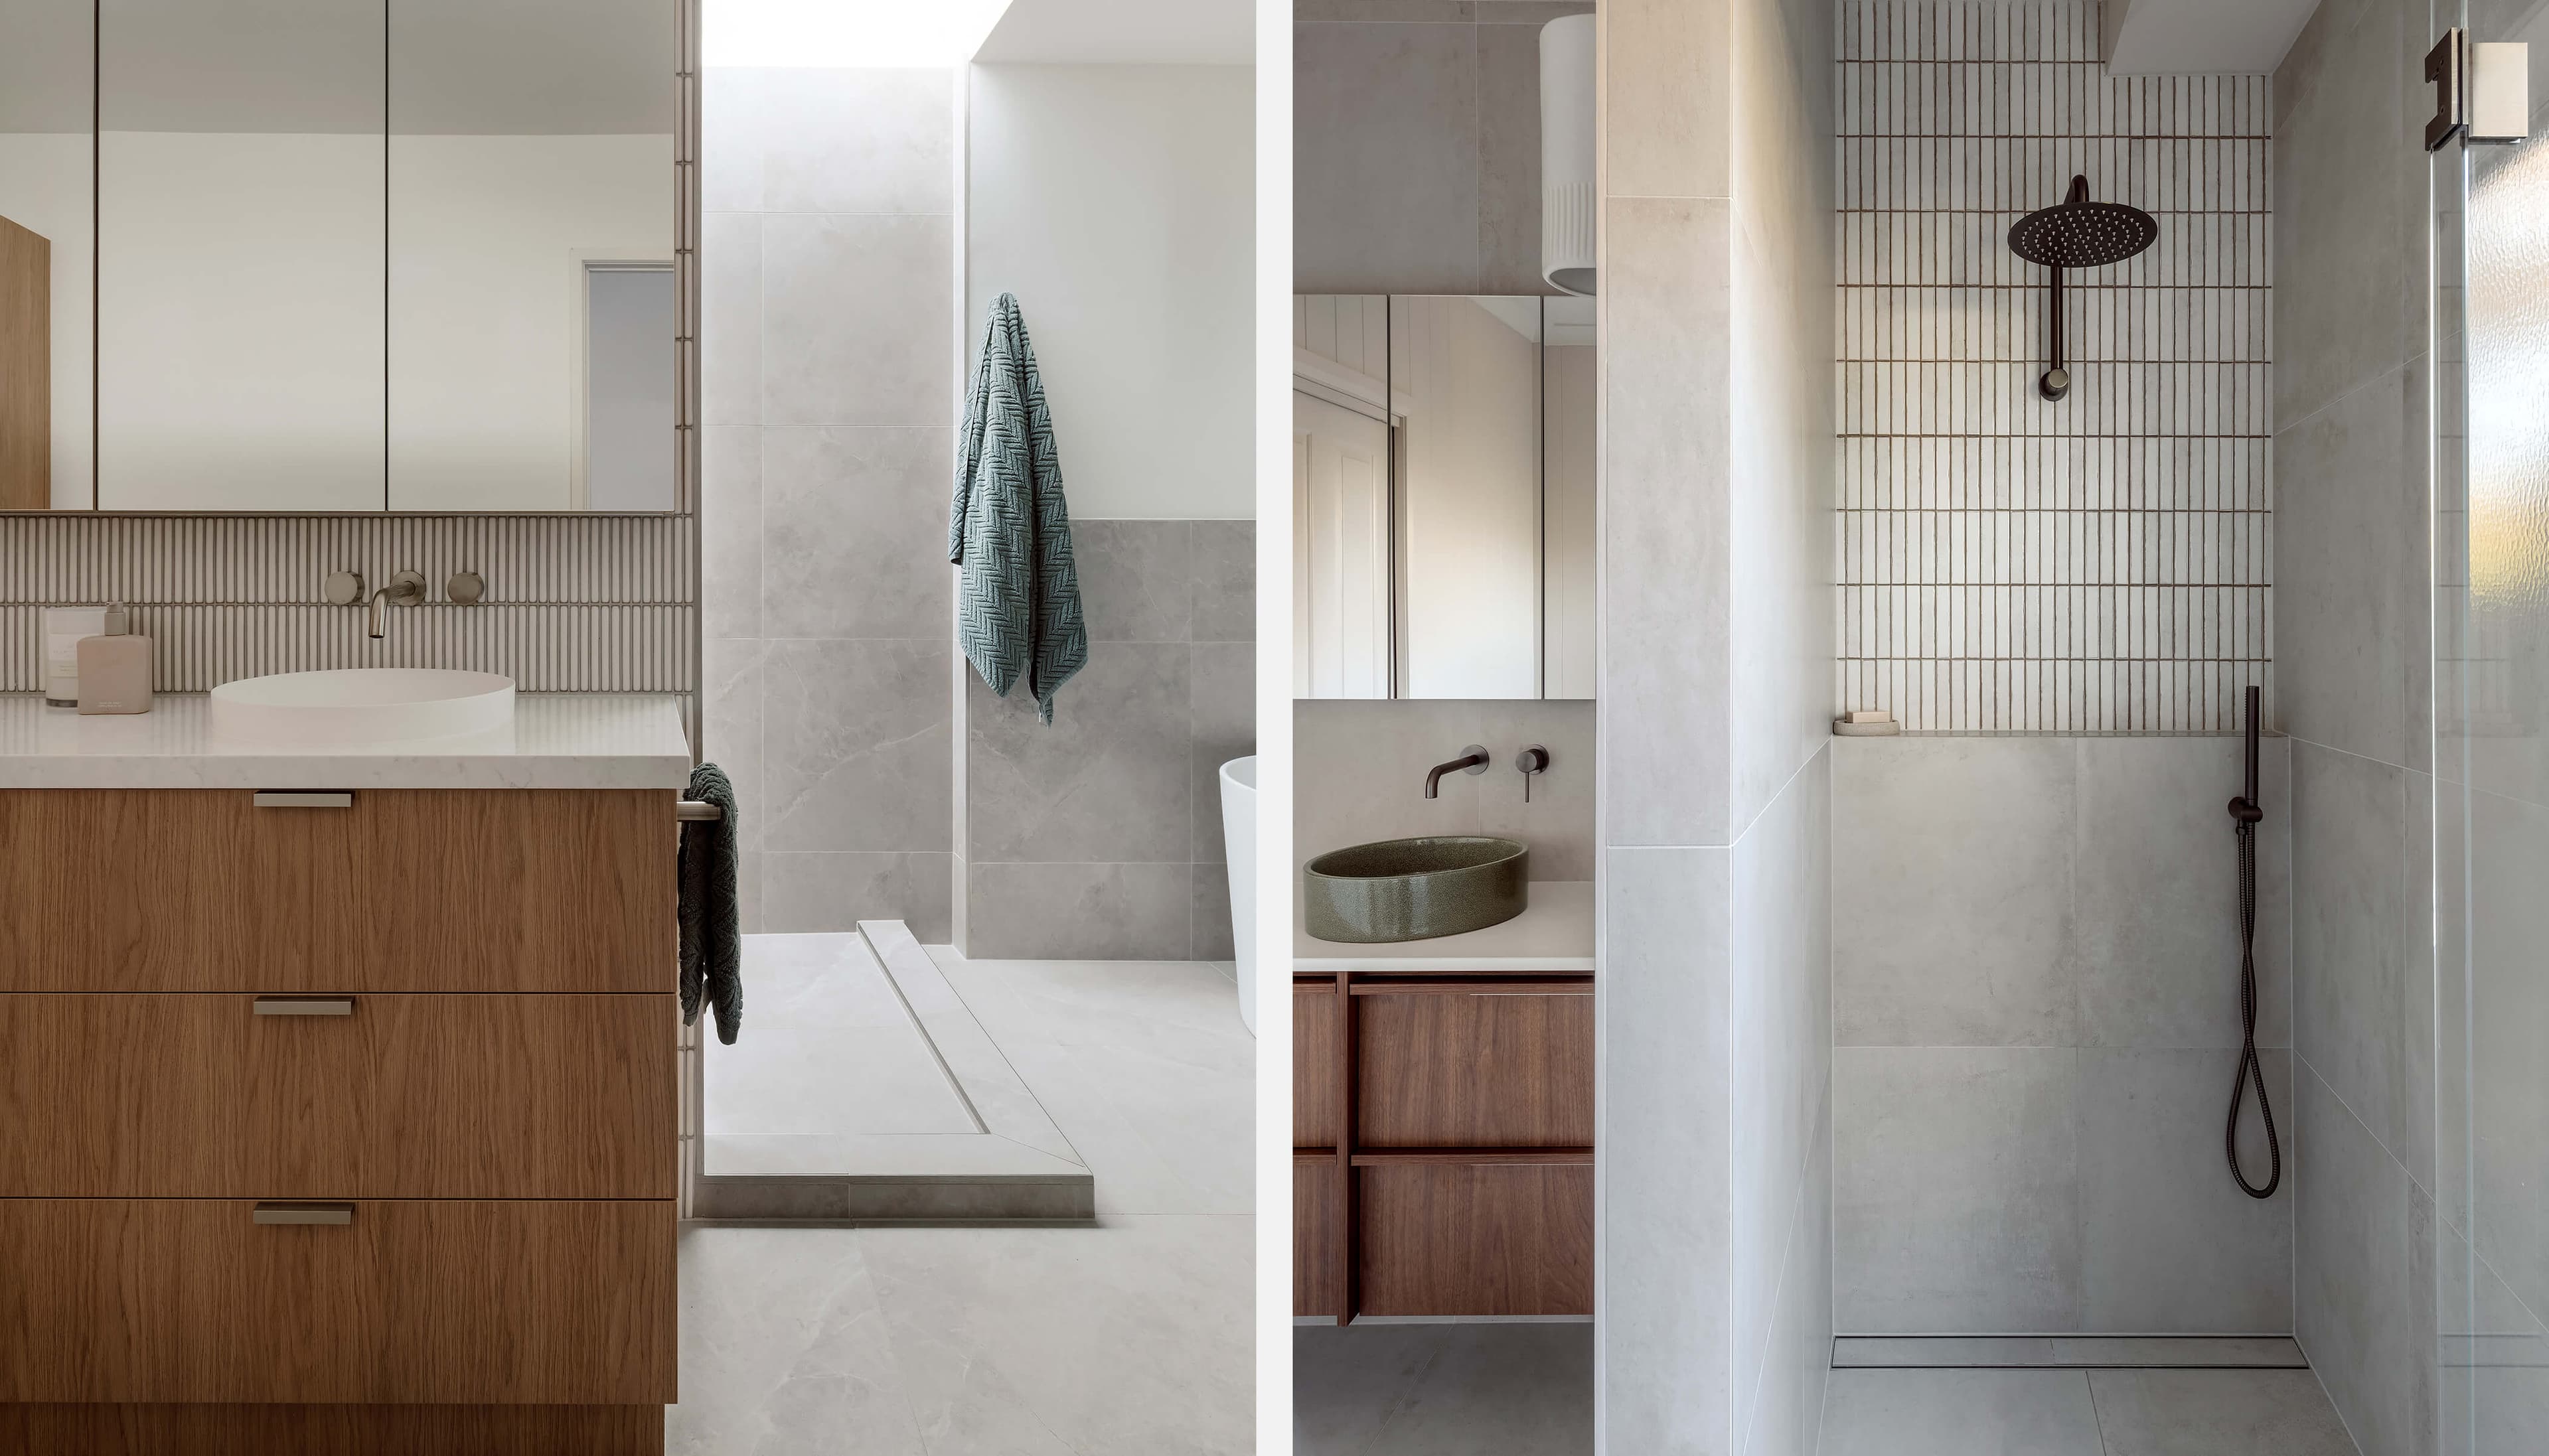
Style Inspiration and Trends
Comparing Bathroom Styles
Choosing a bathroom style helps narrow down the hundreds of decisions you'll face, from tiles to tapware, vanities to lighting. Below are some of the most popular styles, each with its own distinct character:
Modern
Sleek, pared-back, and highly functional. Modern bathrooms rely on clean lines, frameless glass, floating vanities, and a neutral colour palette. You’ll often see large-format tiles, recessed shelving, and integrated lighting to create a calm, clutter-free look. Tapware in matte black or brushed nickel adds contrast without being overdone. It’s minimalism without sterility.
Coastal
Airy and relaxed, coastal bathrooms are inspired by natural light, fresh air, and the textures of the sea. Think sandy tones, white walls, brushed nickel fittings, and pale timber or rattan accents. V-groove panelling, terrazzo tiles, and soft blues or greens can introduce subtle depth without crowding the space. This style suits beachside homes but also brings warmth to inner-suburban renovations.
Industrial
Bold and architectural, industrial bathrooms favour a raw, textural look. Expect polished concrete, exposed plumbing, matte black or gunmetal tapware, and steel-framed shower screens. Lighting often makes a statement, with globe pendants, metal wall sconces, or cage fittings. It’s a style best suited to inner-city apartments, warehouse conversions, or homeowners who lean toward edgier aesthetics.
Hamptons
Classic and polished, Hamptons bathrooms are defined by symmetry, softness, and fine detail. Shaker-style cabinetry, marble or marble-look tiles, chrome tapware, and elegant wall lights create a timeless, high-end feel. Colours tend toward soft greys, whites, and navy accents. For added depth, panelled walls, moulding, or a freestanding bath elevate the sense of sophistication.
Contemporary Luxe
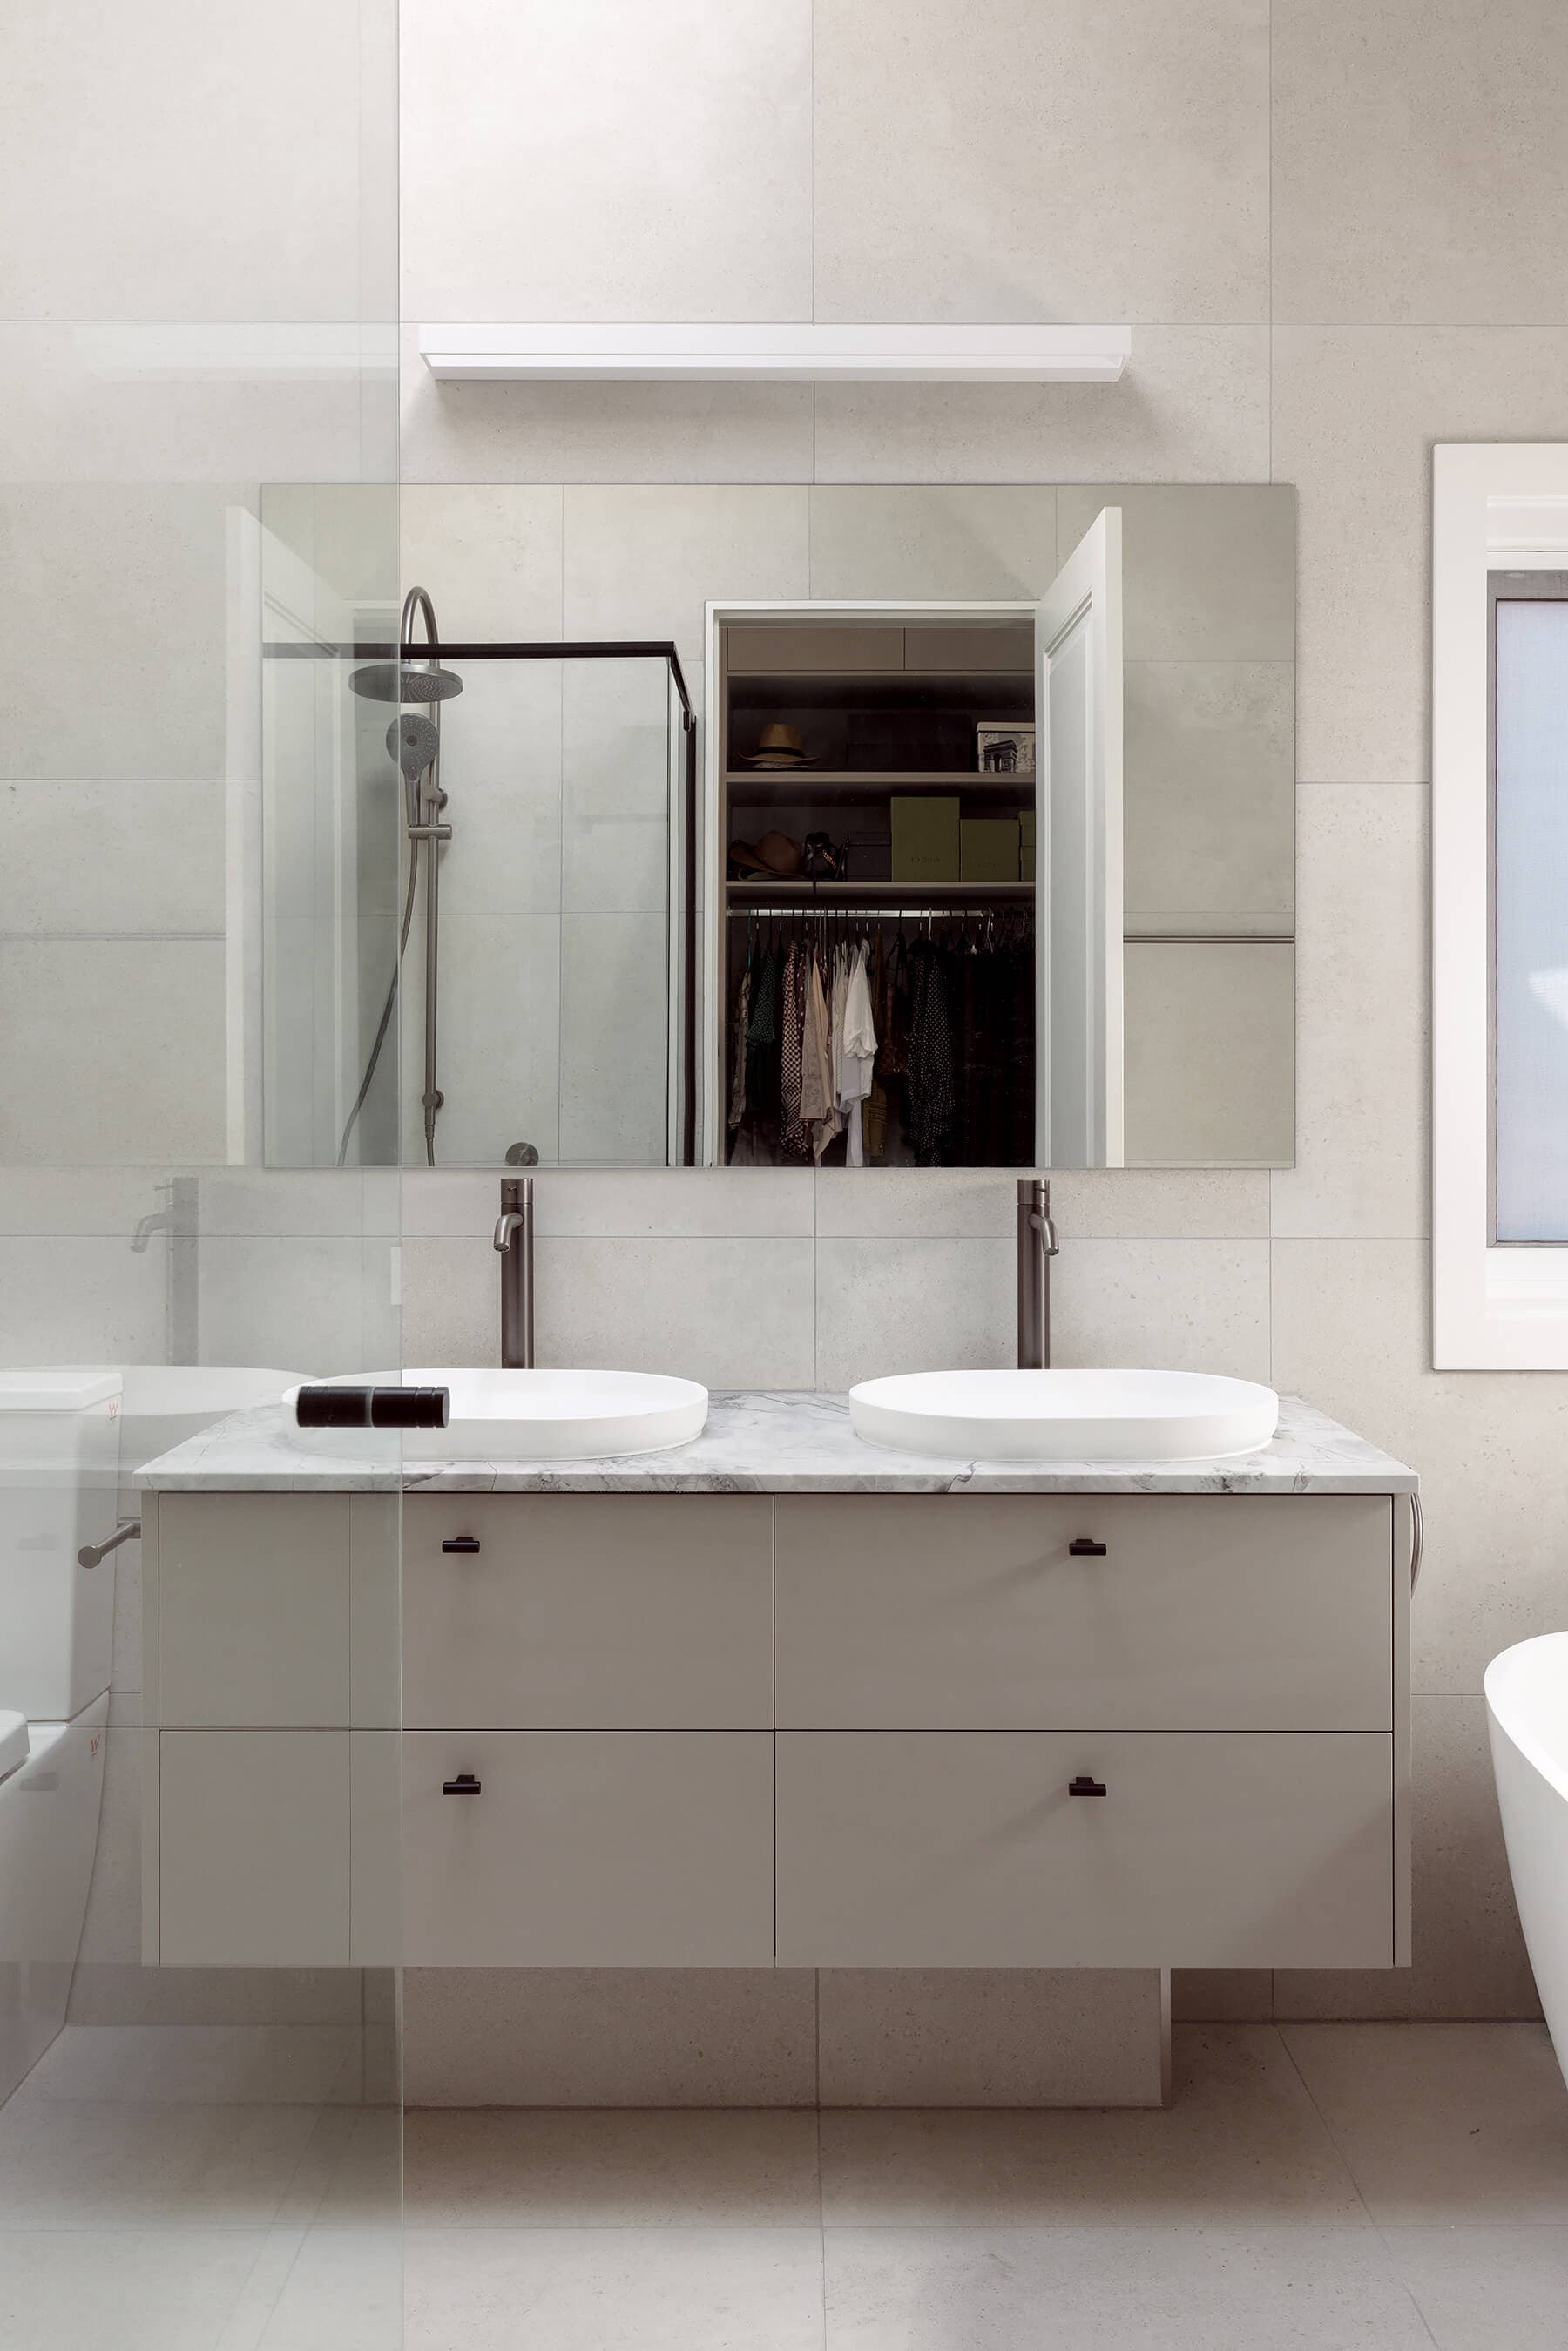
Refined and balanced, this style blends modern forms with premium finishes. You’ll find floating vanities in natural stone or woodgrain, backlit mirrors, oversized tiles with minimal grout lines, and tonal palettes, beige, taupe, and greige, layered with texture. Brushed brass or gunmetal tapware adds polish. This is understated luxury: nothing flashy, just thoughtfully executed details.
Scandinavian
Light, functional, and softly organic. Scandinavian bathrooms use white tiles, pale timber, soft greys, and black accents for contrast. It’s all about balance. Form follows function, but not at the expense of warmth. Minimal styling and clean surfaces keep things practical, particularly in compact spaces.
Once you’ve settled on a style, use it as your guide. It’ll help you stay consistent when choosing tiles, vanities, lighting, and accessories, and prevent the common trap of mixing too many looks into one space.
Bringing It All Together
A thoughtfully renovated bathroom delivers clarity, comfort, and a sense of completion to the home. When planned in advance, it becomes a space that flows effortlessly, both in form and function.
The key lies in the details: a layout that makes sense, materials that last, and design decisions that hold their own over time.
If you’re ready to take the next step, One Stop Renovate specialises in bathroom renovations that are fully managed from concept to completion, with all trades, planning, and finishes taken care of under one roof.
To learn more or request a quote, please contact our team today. We're here to help you bring your bathroom vision to life!